
How to Break In New Leather Boots Without Blisters, Cracks, or Regret
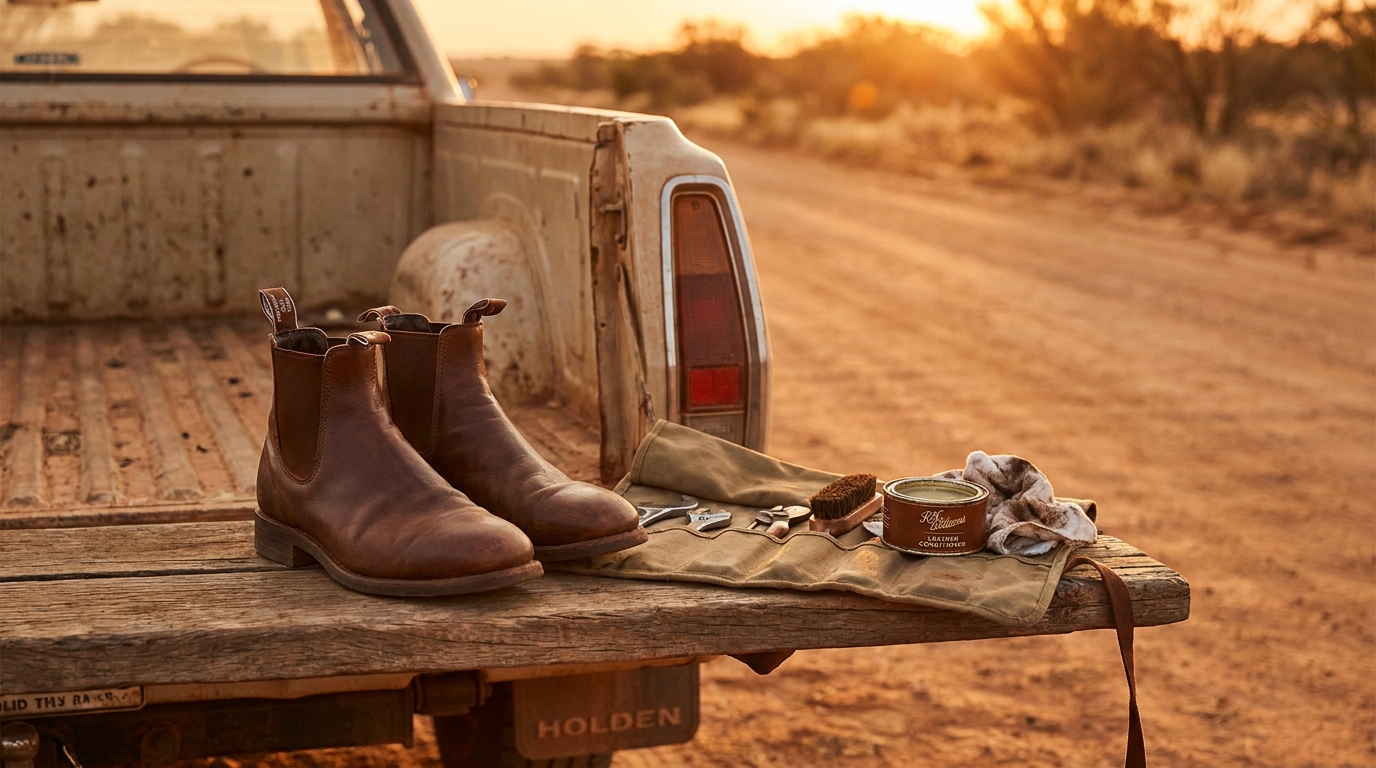
New leather boots feel like a promise and a threat at the same time. Somewhere under that stiff, shiny upper is the boot that’s going to fit like it was built for your foot — but between here and there is a break-in period that ruins more boots than any resole job ever will.
Here’s the useful version of what’s actually happening, what genuinely helps, and what to leave alone.
Why new leather fights you
Vegetable-tanned and chrome-tanned leathers both start life tighter than they’ll ever be again. The fibres in the hide are still packed close, the natural oils are at factory levels rather than yours, and any stiffening agents used in finishing haven’t had a chance to work loose. None of that is a fault — it’s just how tanned hide behaves before it’s been flexed, warmed and worn.
The boot softens as three things happen: the fibres separate slightly with repeated flexing at the vamp and ankle, the leather absorbs a small amount of moisture and oil (from conditioner, from your foot, from the air), and the internal structure — lining, insole, sometimes a toe puff or heel counter — settles to your foot’s actual shape rather than the last it was built on.
What actually works
Wear them in short bursts first. Fifteen to thirty minutes around the house, on a clean surface, is worth more than one miserable eight-hour day out. Short sessions let the leather flex without trapping heat and sweat against a blister-in-progress; you can stop the moment something starts rubbing, which you can’t do halfway through a workday.
Thick socks, then your normal socks. An extra sock layer for the first few wears adds a bit of padding exactly where new boots bite — heel, ankle bone, the top of the toe box — and slightly stretches the lining without stretching the leather itself out of shape.
Condition sparingly, and only once the boots have had a few wears. A light leather conditioner or cream, worked in with a cloth, replaces some of the oil lost in tanning and finishing and helps the fibres move against each other instead of cracking. The word here is sparingly — a thin, even coat, buffed off, is doing the job; a heavy application just sits on the surface and can darken the leather unevenly. We’ve gone through conditioning products and technique in more depth in the full leather care protocol, including which products suit which tannages.
Flex the vamp by hand before you even lace up. Cup the toe of the boot in both hands and gently roll it back and forth where the natural flex crease will form. A few minutes of this, done gently over a few days, pre-softens the crease point so it forms cleanly instead of cracking sharply the first time you take a full stride.
What to leave alone
A few break-in habits do more harm than good, and they’re common enough to call out directly.
Water, heat guns and ovens. Soaking boots and wearing them dry, or blasting the leather with a hair dryer to “relax” it fast, are both a good way to warp the shape, shrink the leather unevenly, or dry out the fibres so they crack later. If a technique for softening leather involves adding a lot of heat or water in a hurry, treat it as a shortcut that costs you the boot’s shape.
Oiling heavily before the leather’s had any wear at all. Oil, as opposed to a light cream conditioner, is a heavier and more permanent treatment — it darkens leather and can soften it more than intended, which is a problem on a structured boot that’s meant to hold its shape at the ankle and heel. Save heavier oiling, if you use it at all, for leather that’s already broken in and genuinely dry, not for a boot fresh out of the box.
Ignoring pain, on the theory it’ll “wear in.” A hot spot that’s actually painful, not just snug, is telling you something: a poor fit, a seam sitting wrong, or a last shape that doesn’t suit your foot. Leather stretches maybe half a size at most with wear; it won’t fix a boot that’s genuinely the wrong size. If you’re not sure a pair is even a well-built, repairable boot worth persevering with, our buyer’s checklist for repairable shoes is worth reading before you commit to breaking a pair in at all.
When it’s a job for a cobbler, not a hairdryer
If a boot is structurally sound and well-made but consistently tight in one spot — across the ball of the foot, at a bunion, along one edge — a professional stretch is the right move, not more home remedies. A cobbler with a boot stretcher, and the right stretching spray or liquid, can target a specific point without affecting the rest of the boot’s shape, in a way that’s controlled and reversible in a way heat and water aren’t. Shops like Unley Shoe Repairs & Giftwares in Adelaide, Reliable Shoe Repair in Penrith, and Mister Minit’s Malvern Central store all list stretching as a standard service alongside general leather care — it’s a normal, inexpensive job, not a last resort.
As a rule of thumb: if a boot still hasn’t eased up after two to three weeks of normal wear and evening conditioning, that’s a “see a cobbler” problem rather than a “wear it more” problem.
The short version
Break leather in gradually, with short wearing sessions, a light hand with conditioner, and patience. Skip water, heat and heavy oil early on. And if a well-made boot is still fighting you after a few weeks, get it professionally stretched rather than grinding through the pain — that’s what the service exists for.