
Steel-Cap Boot Care: How to Make Work Boots Actually Last
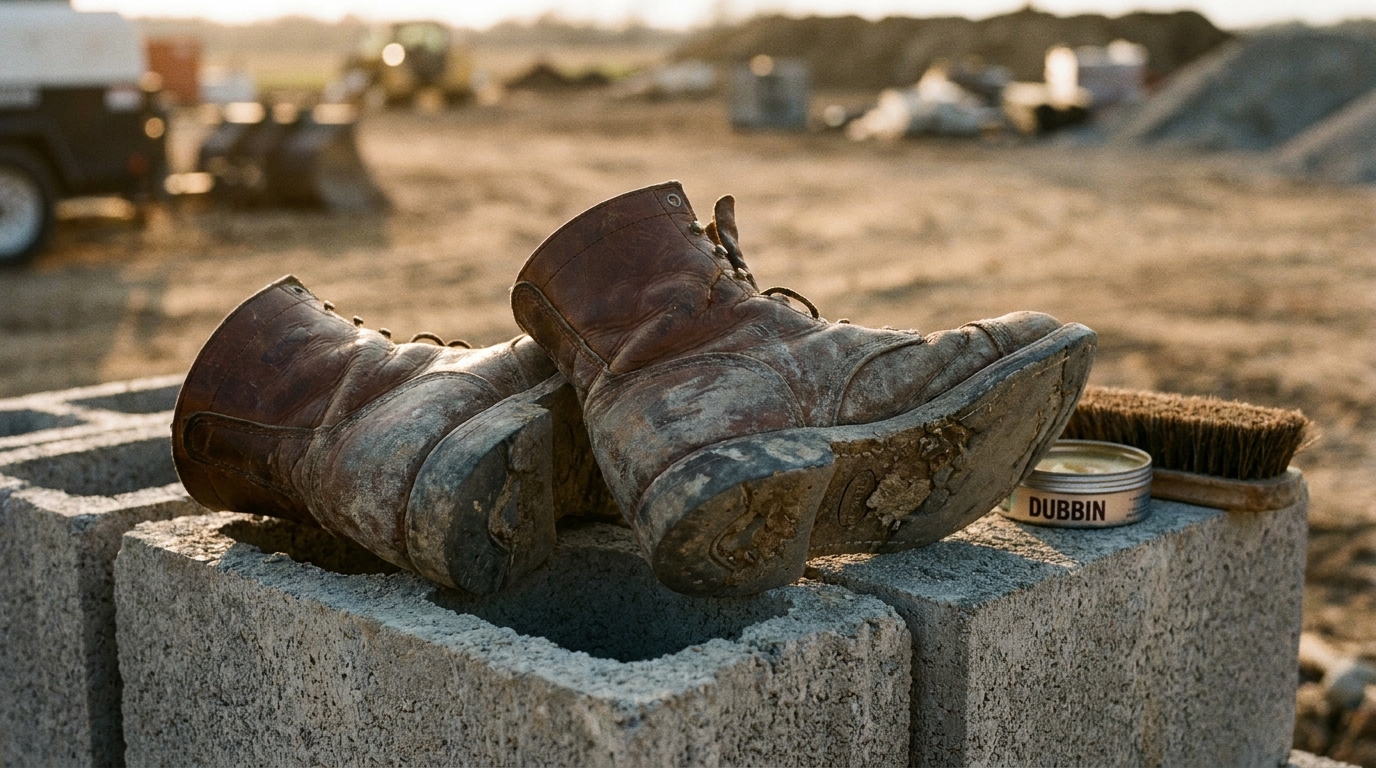
Steel-caps don’t get retired for looking rough. They get retired for leaking.
Nobody’s conditioning steel-caps for the shine. Their whole job is to keep water, nails and the odd dropped tool out until knock-off, and most tradies only think about boot care on the day a sole finally lets go halfway through a pour. That’s a shame, because work boots are usually the most abused and least maintained leather most people own — and a bit of basic care buys real weeks, sometimes months, of extra life out of a pair that isn’t cheap to replace.
This isn’t a polish-and-buff routine. It’s the short list of habits that actually matter when the boots spend all day in dust, diesel, and whatever’s on the ground that day.
Why work boots die early
Three things usually finish a pair before their sole or steel cap actually wears out:
The leather dries out and cracks. Work boots get wet — sweat from the inside, mud and rain from the outside — and then get dried fast, often near a heater, a car vent, or straight in the sun on a dashboard. Leather that’s wetted and dried repeatedly without ever being conditioned loses its natural oils and starts cracking at the flex points, usually right across the vamp where the foot bends. Once it cracks there, water gets in every time, and the crack only gets deeper.
The stitching or cement gives out before the sole does. Whether a boot is stitched (through a welt) or cemented (glued straight to the upper) makes a real difference here, and it’s usually not obvious from looking at a new pair which one you’ve bought. Stitched construction can typically be repaired and resoled by a cobbler when the tread wears down. Cemented construction generally can’t be — once the bond fails or the tread’s gone, a cobbler’s options are usually limited to a glued-on overlay rather than a proper resole. If you don’t know which one you’re wearing, it’s worth asking whoever sold you the boots, or a cobbler, before you assume a “quick resole” is on the table.
Grit works its way into places it shouldn’t. Dust and fine grit packed into eyelets, laces, and the join between sole and upper acts like sandpaper every time the boot flexes. It’s slow, invisible damage that adds up over months.
What actually helps, day to day
-
Knock them out before they go in the bag or the ute. A stiff brush or even a firm knock against a post to clear mud and grit before the boots sit overnight stops that grit grinding into the leather and stitching while they’re stored.
-
Dry them slowly, away from direct heat. Loosen the laces, pull the tongue forward, and let them dry at room temperature — stuffed with newspaper if they’re properly soaked, to help draw moisture out without deforming the shape. A heater or car vent dries the surface fast but cooks the oils out of the leather underneath, which is exactly what leads to cracking.
-
Condition the leather every few weeks, not every few months. A basic leather conditioner or dubbin, worked in properly and left to absorb, replaces the oils that sweat and repeated wetting strip out. This matters more for work boots than for a pair of dress shoes worn a few days a week, simply because of how much harder they’re used.
-
Check laces and eyelets before they fail on you. A snapped lace or a torn eyelet mid-shift is a genuine hazard, not just an annoyance. It costs nothing to glance at them each week and replace laces before they go.
-
Rotate two pairs if the budget allows it. Leather that gets a full day to dry out and recover between wears lasts noticeably longer than leather that’s put straight back on damp the next morning. Not everyone can justify two pairs of safety boots, but if the job allows it, it’s one of the simplest things that extends boot life.
Before you replace them, ask a cobbler
A boot that looks finished from the outside — cracked leather, a worn tread — is often still repairable if the upper and the steel cap or composite toe are structurally sound. Heel and sole repairs, re-stitching a lifted seam, and replacing worn eyelets are all routine work for most general repairers. What a cobbler generally can’t safely do is anything that would compromise the protective rating of a certified safety boot, so if your boots carry an AS/NZS safety footwear certification and need structural work near the toe cap or sole, it’s worth asking the repairer directly whether the repair affects that certification before you go ahead — that’s a question for them, not a guess.
What to look for when you’re buying the next pair
If a pair’s leaking, cracking beyond repair, or the tread’s gone past what a resole can fix, a few things are worth checking before you buy the replacement:
-
Ask whether the construction is stitched or cemented. Stitched boots (Goodyear welt, Blake stitch, or stitchdown) generally give a cobbler more to work with down the track than a cemented pair.
-
Check whether replacement insoles and laces are easy to source, since these wear out well before the boot itself on a pair worn daily.
-
Buy the right boot for the job, not just the cheapest one that meets the standard. A boot rated for the site but built for occasional wear won’t hold up to five days a week the way a boot built for daily trade use will.
None of this is about babying a pair of work boots. It’s about getting the value out of what’s usually a genuine investment, and knowing when a $40 repair is a smarter call than a $250 replacement.
Quick answers
Conditioning steel-caps too often won’t ruin them, but it can oversoften the leather if it’s done every few days rather than every few weeks — stick to a proper application every three to six weeks depending on how hard they’re worked. A crack across the vamp isn’t always game over: if it hasn’t gone all the way through, a cobbler can sometimes treat and reinforce it, but once it’s split clean through, it’s a sign the boot’s on its way out. And if you’re not sure whether your boots are stitched or cemented, a repairer can tell in seconds — it’s worth asking before you assume either way.